

- Leave a review
- Bookmark
- Share
- Report
- prev
- next
Sourdough Categories


Yield
Approximately 150g active sourdough starter
Preparation Time
7 to 14 days
Flour Types
Introduction
Making your own sourdough starter/levain is the first step to baking bread with great flavour, texture, health benefits, and a long shelf life. A starter is just flour and water that collects wild yeast and good bacteria from the air. Over time, these grow, creating a living culture that can make bread rise without commercial yeast.
Making a starter takes some patience, but it’s easier than you might think. If you feed it regularly and keep it in the right conditions, you’ll have a strong, active starter ready to bake with in just 7 to 14 days. Use this step-by-step guide to build a healthy starter that will help you bake many delicious loaves.
Equipment Required
- 1 glass jar or container with a capacity of 500ml to 1 litre
- Digital kitchen scale
- Spoon or spatula
- Elastic band or marker (optional)
Ingredients
- 50g whole wheat flour
- 50g lukewarm water, about 24 to 28°C or 75 to 82°F
Recipe Instructions
Method
Day 1: Start Your Starter
1. Combine 50g whole-wheat flour with 50g lukewarm water in a clean jar.
2. Stir until no dry flour remains.
3. Scrape down the sides of the jar.
4. Cover the jar loosely with a lid or a clean cloth. This lets air in but keeps the starter from drying out.
5. Leave the jar at room temperature, between 22 and 26°C or 72 and 79°F, for 24 hours.
Day 2
1. You may see a few bubbles, or none at all. Both are normal.
2. Stir the mixture.
3. Leave the jar at room temperature, between 22 and 26°C or 72 and 79°F, for 24 hours.
Day 3
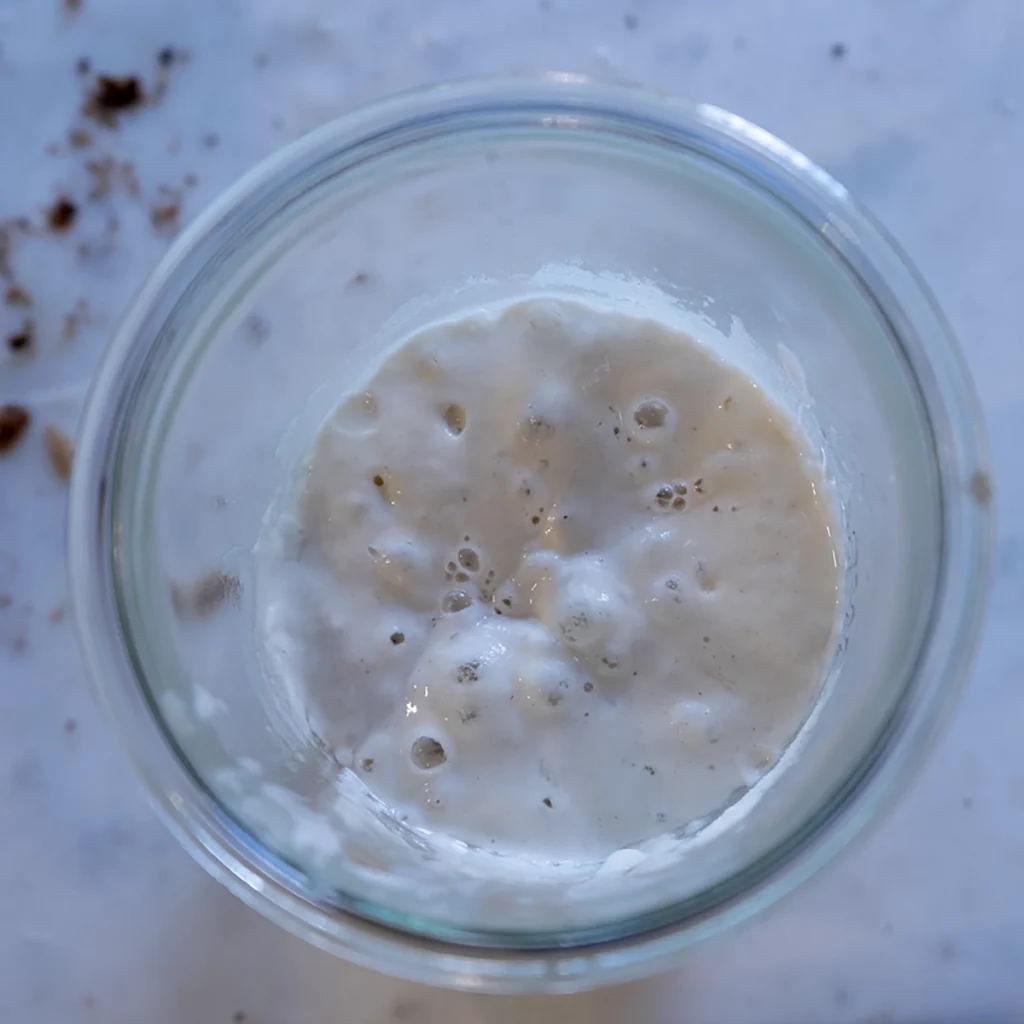
1. You’ll often notice a big increase in activity at this stage.
2. Discard approximately half of the starter.
3. Feed with:
* 50g flour
* 50g water
4. Mix well and leave for 24 hours at room temperature.
It’s normal to see a burst of bubbles and then a slowdown. This is called the “false rise” phase.
Days 4 to 7
1. Discard all but 50g of starter.
2. Feed with:
* 50g flour
* 50g water
3. Stir thoroughly.
4. If you like, use an elastic band to mark the starter's level.
5. Repeat every 24 hours.
As your starter matures, you should notice it:
* Become increasingly bubbly
* Rise noticeably after feeding.
* Develop a pleasant tangy aroma.
* Double in size within a few hours.
Days 7 to 14
Keep feeding your starter every day until it reliably doubles in size within 4 to 8 hours after feeding.
A mature starter should:
* Be full of bubbles throughout
* Rise predictably, smell pleasantly yeasty, fruity, or just a little bit sour
* Pass the float test (optional)
Sourdough Tip
Whole wheat or rye flour usually works fastest because it has more wild yeast and bacteria than white flour.
My tip is to try to find rye wheat berries, grind them (I use an old manual German Coffee Grinder), and use this as your flour on day 1. It will inevitably speed up the process because it has more wild yeast and bacteria than white flour.
Once your starter is active, you can slowly switch to bread flour if you want. I prefer a 50/50 mix of strong white bread flour and wholemeal flour.
FAQs
Frequently Asked Questions
Why didn’t my starter show bubbles on Day 2?
It’s normal if you don’t see much activity at first. Wild yeast often needs time to grow, especially if your kitchen is cool.
What is the “false rise” phase?
This is a quick burst of bubbles, usually around Day 3, caused by bacteria. It often slows down before the real, stable yeast culture forms.
Do I really need to discard starter?
Yes. Throwing some away (discarding) keeps your starter a manageable size and helps the yeast and bacteria stay healthy and active. I suggest composting the initial discard.
Can I use any type of flour?
Yes, but whole wheat or rye flour is best when starting because it contains more natural yeast and nutrients.
What temperature is best for my starter?
Try to keep your starter between 22°C and 28°C (72°F–82°F). Warmer temperatures help it grow faster, while cooler temperatures slow it down.
What should my starter smell like?
A healthy starter should smell slightly tangy, fruity, or yeasty. If it smells sharp, unpleasant, or rotten, there may be a problem.
What if liquid forms on top of my starter?
This liquid, often called “hooch,” is normal and usually means your starter is hungry. You can pour it off or stir it back in before feeding.
How do I know when my starter is ready to bake with?
Your starter is ready when it doubles in size within 4–8 hours after feeding, looks bubbly throughout, and smells pleasantly fermented.
What is the float test and is it necessary?
The float test checks whether your starter is airy enough by dropping a small amount into water. If it floats, it may be ready to use, but this test is optional and not always reliable.
Can I speed up the process?
You can encourage faster growth by keeping your starter warm and using whole grain flour, but it will still usually take at least 7 days to become fully established.
Why is my starter not rising?
This can happen if the temperature is too low, feeding is inconsistent, or the flour lacks enough nutrients. Try feeding on schedule and keeping the starter in a warmer spot.
Can I switch flours later?Yes. Once your starter is active and healthy, you can gradually transition it to bread flour or other types of flour.
How often should I feed my starter?
Feed your starter every 12–24 hours when kept at room temperature, depending on how quickly it matures. If stored in the refrigerator, feed it about once a week.
Can I store my starter in the fridge?
Yes. Feed your starter, allow it to begin rising, then place it in the refrigerator. Cold temperatures slow fermentation and reduce how often it needs feeding.
What if I forget to feed my starter?
Most starters can recover. Discard most of the starter, feed it with fresh flour and water, and continue regular feedings for a few days until it becomes active again.
Add a review